

Showing posts with label gifts. Show all posts
Showing posts with label gifts. Show all posts
Friday, June 7, 2013
Flower Embellsihed T-Shirt


Wednesday, May 15, 2013
Wire Wrapped Upcycled Jar Vase

Well to make mine, I went out & got some glass beads (blue and clear) some 16 gauge blue craft wire (two 7 foot packs) and some silver wire from the hardware dept (it was cheaper than the craft wire, but will probably tarnish quicker). I had a neat jar from maple syrup that I was thinking of using, but it seemed a bit big. I then looked in the fridge & found an old jar of McCormick cocktail sauce that I don't even remember ever buying. I emptied it out (it's color was off) washed it out & then used some blue glass stain on it for color.
I then slid a few beads onto the wire and started twisting the ends into curls and following the shape of the bottle. I wrapped more wire around the top & bottom of the bottle and looped the side pieces through them. At this point I got frustrated because the side pieces were just flopping from side to side. Obviously I didn't quite get the construction right. I used the silver wire strung with beads to attach the separate swirl pieces at the bottom and for additional decoration. To get the sides to stay in place I attached some more silver wire with beads & just wrapped it all around the two pieces to get them to stay in place.
Now I'm just hoping that the weight the vase once a little water & flowers are put in won't cause it to come apart.

Sunday, May 13, 2012
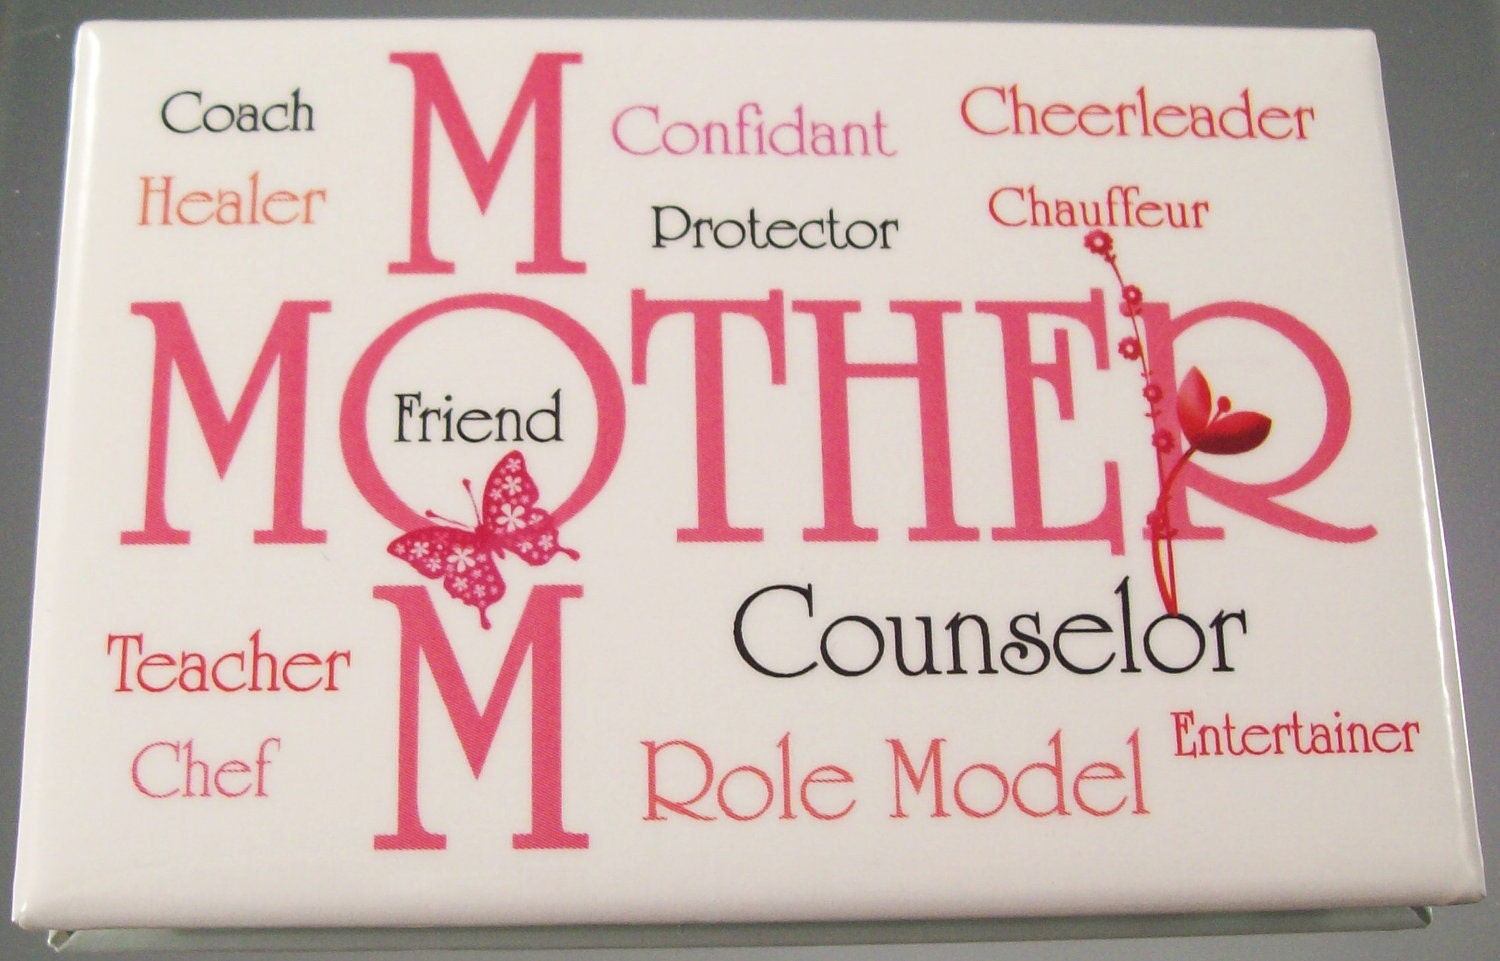
Happy Mother’s Day
A day set aside to show our appreciation for all our mother’s
do for us, even after we’ve long ago flown the nest. I know my mother still
looks out for all her 5 kids and now their families too, motherhood never ends.
I usually make the 2½ hour trip to my mom’s to visit
her on Mother’s Day, but with a 9-6 work schedule today that was impossible. I
did find time this week to make her a nice pair of purple (her favorite color) earrings.
She wears quite a lot of purple, but it turned out she didn’t own any purple
earrings, so I made a wise choice there. I also found a sweet little pocket
mirror at Happy Bug Designs on Etsy. She was thrilled with it too.

 |
| A lovely picture of Mom in her youth |
Monday, March 19, 2012
ODD DUCK BAZAAR NEXT WEEKEND

The Fabulous Odd Duck Bazaar is coming up next weekend, Saturday March 31, 2012. Although my new job prevents me from either vending or visiting the craft fair this year, I encourage all who have the time to stop by this incredible bazaar. This year the location has moved to Hollywood, Fl and more space is provided 80+ vendors. Some of South Florida's most talented Indie Artist and Crafters will be selling their wares. The venue provides both indoor and outdoor shopping areas, plus live music. Follow the link to preview the creative vendors you will find.
Friday, September 30, 2011
Hoop Earrings in Silver Copper and Khaki Metallic
My husband asked me to make a pair of earrings for his friend's birthday. She lives very far away from us in Russia, they became friends on flickr; both admiring each others great photography.

He knew from her photostream that she wore hoop earrings. It just so happened that we came across a pair of hoops a few weeks later. The hoops were silver with a ball chain wrapped around them. They had many little silver drops dangling between the balls which I removed. I tried a few combinations of dangles from my existing beads, but Bob wasn't really happy with them, so I took him shopping and he picked out a great match (doesn't he have good taste). After they were finished, it took a few weeks for them to arrive, we were anxious to hear what she thought. Here's a lovely photo she posted on flickr of her wearing her new present.


He knew from her photostream that she wore hoop earrings. It just so happened that we came across a pair of hoops a few weeks later. The hoops were silver with a ball chain wrapped around them. They had many little silver drops dangling between the balls which I removed. I tried a few combinations of dangles from my existing beads, but Bob wasn't really happy with them, so I took him shopping and he picked out a great match (doesn't he have good taste). After they were finished, it took a few weeks for them to arrive, we were anxious to hear what she thought. Here's a lovely photo she posted on flickr of her wearing her new present.

Sunday, September 25, 2011
Upcycled Jewelry for a Birthday Gift
I
planned to make some earrings for my sister-in-law’s birthday, so it was time
to rustle through my huge collection of beads and the old jewelry everyone
passes down to me for upcycling. I came across some rectangular glass beads in
purple that I put aside, and then I came across a necklace with assorted types
of purple beads. I thought the leaf shaped beads were nice.
I removed the bar end of the clasp to get some of the leaf shaped beads and as I was removing them, I realized there were way more beads than I needed for just earrings and that I could just rearrange and shorten the necklace into a matching bracelet. It ended up as a lovely set and Joann was really thrilled with it.


I removed the bar end of the clasp to get some of the leaf shaped beads and as I was removing them, I realized there were way more beads than I needed for just earrings and that I could just rearrange and shorten the necklace into a matching bracelet. It ended up as a lovely set and Joann was really thrilled with it.

I
save plenty of old gift boxes, so I had a nice one for the jewelry. But being
an avid recycler, I try not to buy new wrapping paper too often. Since I was
already working on recycling old wall calendars into gift bags for other
birthday gifts, I decided to just use a calendar page for gift wrap. I chose
one that was a fairly lightweight paper with a pretty photo of a field of
flowers and mountains in the background. So, if you’re ever in need of a small piece
of gift wrap (even if you don’t horde old calendars for their pictures) you can
always look through the months of your wall calendars that have already passed,
it works great.

Wednesday, August 31, 2011
Shag Pillow
Another handmade and upcycled present I recently made. I was inspired by a photo in a book of a denim rug I saw that was similar.
I began with two 14" squares for the front & back of the pillow, cut from a purple tee shirt.
I then cut 12" wide strips from some fleece remnants left over from a top made decades ago. I cut as many as possible from the odd shaped leftovers I had.
I roughly accordion folded the longest strip forming approximately 1" loops to estimate how wide it would end up and didn't think I had enough to cover the whole front. I then cut additional 12" strips from the purple tee shirt.
I started by centering the longest pink strip on one 14" square, leaving 1" of the purple hanging out on each side for the pillow seams. I then sewed a straight seam down the middle.
I folded over a 1" loop and sewed another seam about 1/4" from the first one. I repeated this until I didn't have enough fabric left for another loop.
Since it was knit fabric and going to be stuffed as a pillow, I just eyeballed the loops & seams, some were a bit crooked. If you wanted more precision you could measure & mark each fold & seam.
I then repeated looping the pink on the other half. I trimmed off the remainder of pink strip 1/4" away from the last seam.
I then overlapped a purple strip on top of the pink 1/2" and sewed over the same seam 1/4" from it's edge. Then I continued looping the purple in the same manner. After a few inches of purple loops, I trimmed it off and started another row of pink. As I was working with remnants, some small strips only made a few loops, so I patched pieces together as I had where the pink & purple meet.
I stopped the last loop about 1" from the edge and sewed the strip down to the square with a second seam to keep it from sticking out when sewing the pillow closed.
I thought it would be easier to leave it just with the loops before making it shaggy when sewing the pillow closed. I then placed the other 14" square face down on the loops and sewed the 1" seam around 3 sides of the pillow, sewing as close too the edges of the loops as possible.
I turned it right side out, stuffed in my pillow form & hand sewed the last edge closed.
Then it was time to make the shagging. I just took my scissors and cut the loops approximately every 1/2" (again just eyeballing it) and being careful not to cut completely down to the seams or to slice the base fabric.
And wallah! a cute shaggy pillow out of recycled materials.

I began with two 14" squares for the front & back of the pillow, cut from a purple tee shirt.
I then cut 12" wide strips from some fleece remnants left over from a top made decades ago. I cut as many as possible from the odd shaped leftovers I had.
I roughly accordion folded the longest strip forming approximately 1" loops to estimate how wide it would end up and didn't think I had enough to cover the whole front. I then cut additional 12" strips from the purple tee shirt.
I started by centering the longest pink strip on one 14" square, leaving 1" of the purple hanging out on each side for the pillow seams. I then sewed a straight seam down the middle.
I folded over a 1" loop and sewed another seam about 1/4" from the first one. I repeated this until I didn't have enough fabric left for another loop.
Since it was knit fabric and going to be stuffed as a pillow, I just eyeballed the loops & seams, some were a bit crooked. If you wanted more precision you could measure & mark each fold & seam.
I then repeated looping the pink on the other half. I trimmed off the remainder of pink strip 1/4" away from the last seam.
I then overlapped a purple strip on top of the pink 1/2" and sewed over the same seam 1/4" from it's edge. Then I continued looping the purple in the same manner. After a few inches of purple loops, I trimmed it off and started another row of pink. As I was working with remnants, some small strips only made a few loops, so I patched pieces together as I had where the pink & purple meet.
I stopped the last loop about 1" from the edge and sewed the strip down to the square with a second seam to keep it from sticking out when sewing the pillow closed.
I thought it would be easier to leave it just with the loops before making it shaggy when sewing the pillow closed. I then placed the other 14" square face down on the loops and sewed the 1" seam around 3 sides of the pillow, sewing as close too the edges of the loops as possible.
I turned it right side out, stuffed in my pillow form & hand sewed the last edge closed.
Then it was time to make the shagging. I just took my scissors and cut the loops approximately every 1/2" (again just eyeballing it) and being careful not to cut completely down to the seams or to slice the base fabric.
And wallah! a cute shaggy pillow out of recycled materials.
Sunday, May 1, 2011
Handmade Journal

 OMG I admire people who craft handmade journals so much more now that I made my 1st one. A couple hours just looking through my collection of buttons, fabrics, scrapbook paper, lace, etc. Then almost a full day on each of the front & back covers - switching out items, rearranging buttons & such. I know I’m way too persnickety & indecisive. I only knew I wanted the glove on the front.
It was a gift for my sister-in-law Roberta’s birthday, and the glove had belonged to her Aunt. I did better with the inside pages as I chose just to decorate them randomly with some watercolor & a few inspirational words.

Monday, January 10, 2011
Floral Broach

This floral broach (another recent gift I made) was made using a method for a choux that I found in a book on draperies.
You take a square of fabric, fold it over diagonally to form a triangle, right sides together. Make a running stitch along the folded edge and leave a tail. Make another running stitch along adjacent raw edges and meet, leaving a tail at the same corner. Pin that corner to a backing fabric. Pull the tails to gather it up and tie them together. Open to the right sides. Fold under the raw edges, arrange the gathers to your liking, you can steam it if needed and secure it to the backing.
I added a lace ruffle and a gathered piece of tulle.
Tuesday, December 28, 2010
Necktie Scarf


Sunday, November 28, 2010
A Batch of Flower Hair Clips for my Niece

Here are the hair clips and bobby pins I made for my niece for her birthday. She wears a lot of bright colors, so I made a broad range of designs. She also loves butterflies and I recently found the enamel shoe clips but thought they were a bit heavy for shoes, so I incorporated them into the flowers. I enjoy experimenting with different ways to create the petals, and I especially like the two buttons (one shell, the other rhinestone) that make the center of the yellow flower.


Tuesday, November 23, 2010
Schoolbook Tote Bag


This is the tote bag I made for my niece. She wanted one strong enough for her schoolbooks. Her favorite color is purple, so she chose the few pieces of fabric in my collection that had purple in them. I combined them with recycled jeans and lined it on the inside with remnants from a fleece sweatshirt I made myself many years ago. The handles were made from a thrifted belt. The one downside of using fabric samples and remnants is that I can’t make multiples of the items. I really really really liked this tote bag and had a hard time giving it up to her once it was done.
Tuesday, July 6, 2010
Handmade Onesies and Booties


(photo credits go to my husband & sister-in-law)
Thursday, May 20, 2010
Hairband with Buttons

I recently made this as a birthday gift for one of my dearest friends.
Upcycled from used denim and old buttons, it took more time sorting through my overwhelmingly huge button collection and deciding which to use then it did to whip it up.
Wednesday, January 6, 2010
More Neckties and Bags – gifts cont.
The laptop bag was a b’day gift for my nephew, this time I upcycled a button down shirt and two neckties.


 This purse was
 my sister’s b’day gift, she requested a purse & sent me some pics of bags she liked. This was by far my most time consuming project
 because I mixed so many small remnants (sorting thru my stash takes forever) & then I hand sewed the yarn borders and beads on & hand sewed fabric over a black plasticbuckle on the strap because the black was all I could find in a 2” buckle (recycled from an old camera bag).
 And this cute little purse was a xmas gift for my best shopping girlfriend. I found the pin in a thrift store awhile back & bought it for her. I then needed to decide what to attach it to. At the last minute I came up with the idea of a small purse and threw it together that night. I may have to create a few more like this, but I only had the one pin.


 This purse was
 my sister’s b’day gift, she requested a purse & sent me some pics of bags she liked. This was by far my most time consuming project
 because I mixed so many small remnants (sorting thru my stash takes forever) & then I hand sewed the yarn borders and beads on & hand sewed fabric over a black plasticbuckle on the strap because the black was all I could find in a 2” buckle (recycled from an old camera bag).
 And this cute little purse was a xmas gift for my best shopping girlfriend. I found the pin in a thrift store awhile back & bought it for her. I then needed to decide what to attach it to. At the last minute I came up with the idea of a small purse and threw it together that night. I may have to create a few more like this, but I only had the one pin.
Tuesday, January 5, 2010
More Birthday Gifts
This is a scarf I made for my niece out of a necktie. I added a ruffle & lace to it and then hand knotted all the fringe around the ends.


Monday, January 4, 2010
Birthday & Xmas Gifts 2
Here are some photos of jewelry & accessories I crafted, a bracelet & button earrings for my sister-in-law, a bracelet for my niece and a ponytail holder for my sister.


Monday, August 17, 2009
Making Gifts
There are always so many birthdays and other occasions I need gifts for. More and more lately I’m hand making my gifts. Here are just a few I’ve created lately. A small handbag, a pair of button earrings, a hand painted hat and an upcycled totebag.


Subscribe to:
Posts (Atom)
LinkWithin
