Showing posts with label earrings. Show all posts

Sunday, May 13, 2012

Happy Mother’s Day

A day set aside to show our appreciation for all our mother’s do for us, even after we’ve long ago flown the nest. I know my mother still looks out for all her 5 kids and now their families too, motherhood never ends.
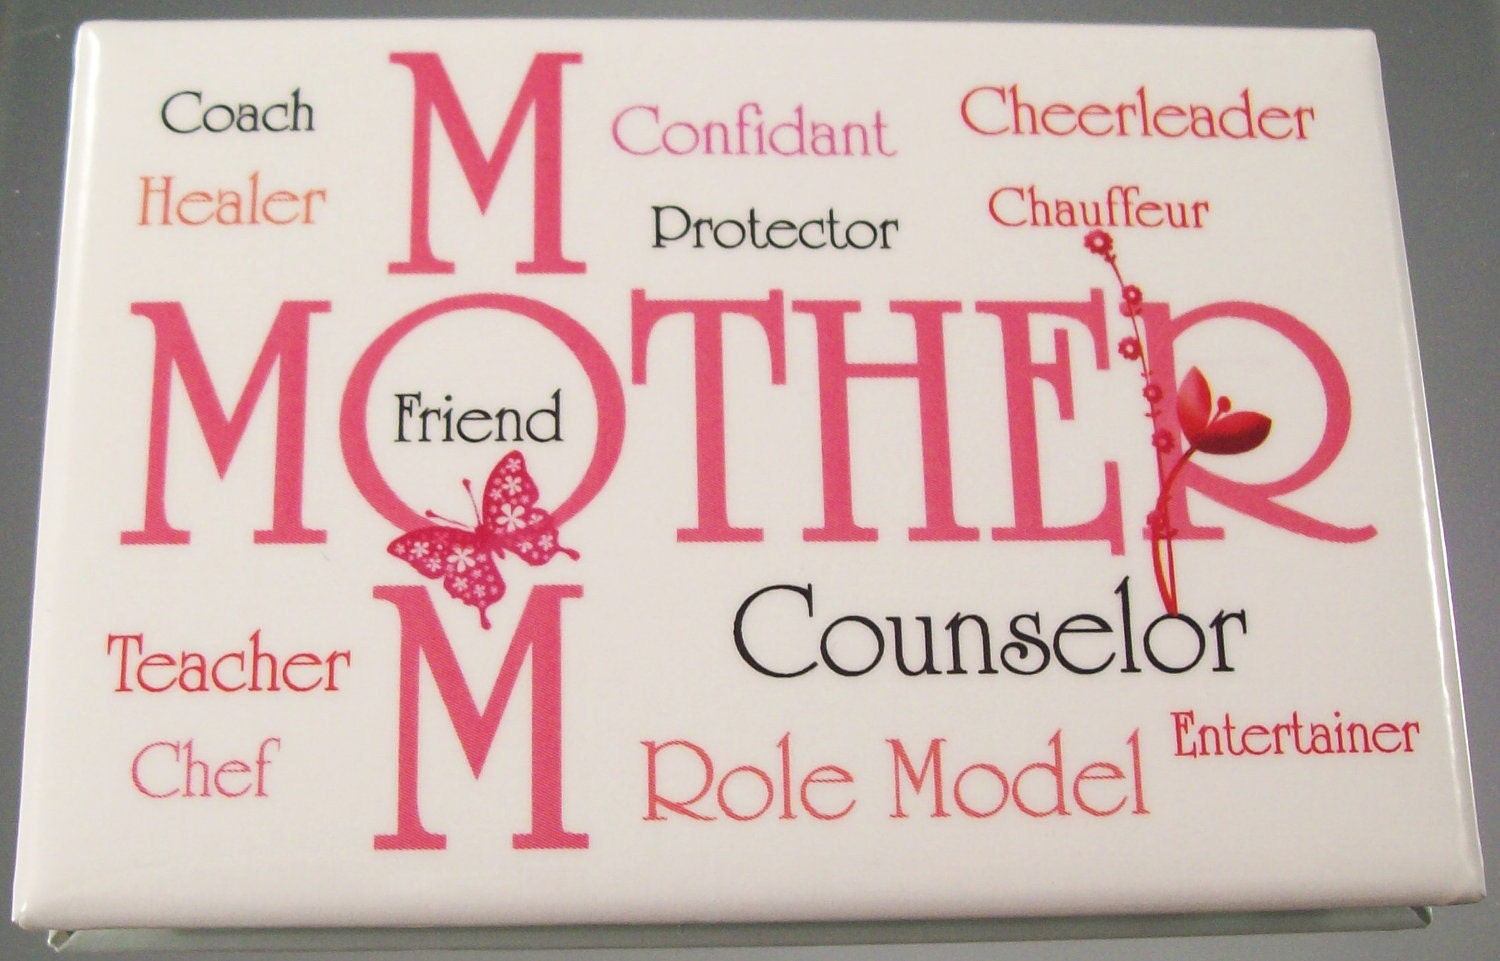
I usually make the 2½ hour trip to my mom’s to visit her on Mother’s Day, but with a 9-6 work schedule today that was impossible. I did find time this week to make her a nice pair of purple (her favorite color) earrings. She wears quite a lot of purple, but it turned out she didn’t own any purple earrings, so I made a wise choice there. I also found a sweet little pocket mirror at Happy Bug Designs on Etsy. She was thrilled with it too. 


A lovely picture of Mom in her youth

Tuesday, April 24, 2012

Etsy Treasury, Hippie Days are Here Again


I created a new Etsy Treasury today, I've really been slacking off on my Etsy Shop & Blog since starting my part time job in January. But this morning I was inspired to through a treasury together, Hope you like it.

Saturday, December 3, 2011

Miniature Handbag Earrings

Silk mini handbag earrings silver by b-a-boop
Silk mini handbag earrings silver, a photo by b-a-boop on Flickr.


Dangle earrings in the shape of miniature purses, perfect for holiday or New Year’s Eve parties. In beautiful midnight blue silk or ultra-suede, each handbag is hand sewn and the chain handles are made from upcycled jewelry. Each pair is uniquely embellished with different kinds of beads. Some have silver findings, some gold. I hope to get more varieties made in the near future. Also great for gift giving.

Tuesday, October 18, 2011

Tribal Earrings


While working on ideas for the hoop earrings a few posts below, I started stringing together various beads from my collection. There was one set which I was quite happy with; in which I used some turquoise beads, red glass beads and various upcycled bali beads and bead caps. I had to put them to good use. I grabbed some silver hoop findings and hung them from the bottom of the hoops. I then had to string together one more dangle for the center of the hoop. So in no time flat, a birthday project also resulted in a new item for my ReFORMAtory Etsy Shop.

Friday, September 30, 2011

Hoop Earrings in Silver Copper and Khaki Metallic

My husband asked me to make a pair of earrings for his friend's birthday. She lives very far away from us in Russia, they became friends on flickr; both admiring each others great photography.

He knew from her photostream that she wore hoop earrings. It just so happened that we came across a pair of hoops a few weeks later. The hoops were silver with a ball chain wrapped around them. They had many little silver drops dangling between the balls which I removed. I tried a few combinations of dangles from my existing beads, but Bob wasn't really happy with them, so I took him shopping and he picked out a great match (doesn't he have good taste). After they were finished, it took a few weeks for them to arrive, we were anxious to hear what she thought. Here's a lovely photo she posted on flickr of her wearing her new present.

Sunday, September 25, 2011

Upcycled Jewelry for a Birthday Gift

I planned to make some earrings for my sister-in-law’s birthday, so it was time to rustle through my huge collection of beads and the old jewelry everyone passes down to me for upcycling. I came across some rectangular glass beads in purple that I put aside, and then I came across a necklace with assorted types of purple beads. I thought the leaf shaped beads were nice.
I removed the bar end of the clasp to get some of the leaf shaped beads and as I was removing them, I realized there were way more beads than I needed for just earrings and that I could just rearrange and shorten the necklace into a matching bracelet. It ended up as a lovely set and Joann was really thrilled with it.

I save plenty of old gift boxes, so I had a nice one for the jewelry. But being an avid recycler, I try not to buy new wrapping paper too often. Since I was already working on recycling old wall calendars into gift bags for other birthday gifts, I decided to just use a calendar page for gift wrap. I chose one that was a fairly lightweight paper with a pretty photo of a field of flowers and mountains in the background. So, if you’re ever in need of a small piece of gift wrap (even if you don’t horde old calendars for their pictures) you can always look through the months of your wall calendars that have already passed, it works great.

Sunday, July 31, 2011

Mini Purse Earrings

My latest creation, a birthday gift for a great friend. Took some small scraps of ultra suede and made tiny pouches, gathered the top & crimped on a ribbon end. Then attached some recycle bits of chain for handles. I originally picked out a lighter beige faceted bead for the top, but the shape was too flat, didn’t like it. I needed a more oblong bead. Spent forever trying to locate 2 matching beads the right shape & color, the hazards of working with recycled materials - and of course, I just have tooo much crap!


Possibly planning another pair in blue silk with chains that have some crystal beads on them, they’ll be a bit more dressy.

Just a small sampling of my hordes to sort through


Tuesday, July 26, 2011

Acorn Earrings

Acorn Earrings by b-a-boop
Acorn Earrings, a photo by b-a-boop on Flickr.
I threw these together just this morning. I got dressed, put on a necklace to match my top & then went to my big earring cabinet & found nothing that went. Then in a dish on the dresser I spotted 2 pairs of sterling silver earrings I picked up at an antique fair about a year ago. They were both screw back earrings & I had intended to convert them.
The acorns matched my top, so I just got to work. I had intended to nip the screw backs off at the screw and twist the piece into a loop to dangle them from, but the 1st one just snapped of immediately because it was just glued on. Perhaps a bad repair, cause the other one wouldn't pull off, so I just snipped it off  then hung them upside down with a jump ring. I wanted to add a bead & found an old necklace I could take a few off of. I just opened the loops on the ends to removed them & added them to the ear wires.
Nice to make something for myself now & then, especially when it comes together quickly instead of my usual hemming & hawing over which items to put together.

Wednesday, February 2, 2011

Handmade Earrings for Mom

I made these sweet little copper and beaded earrings for my mom for her birthday. She wore them right away & they looked great on her. I’ll try and make a pair for the shop soon, think they are a nice simple design.

Tuesday, May 25, 2010

Upcycled Necklace formerly Earrings


Upcycling again. This one of a kind necklace began life as a lovely pair of earrings. The tiered gold oval earrings were dotted with smokey colored rhinestones, but didn’t strike me as particularly special as earrings. So when I laid them down slightly angled toward each other it inspired the necklace. I connected them with a small piece of gold chain adding some beaded dangles made of multi-colored iridescent glass beads. The same gold chain finishes the back of the necklace. Available on Etsy or Artfire.

Monday, August 17, 2009

Making Gifts

There are always so many birthdays and other occasions I need gifts for. More and more lately I’m hand making my gifts. Here are just a few I’ve created lately. A small handbag, a pair of button earrings, a hand painted hat and an upcycled totebag.

Wednesday, June 10, 2009

My Earring Cabinet


Being an earring junkie, it tends to be hard to find a place to store them all, or to locate the pair I want. I decided I needed a cabinet. I envisioned something similar to a CD cabinet that provides storage on the doors when they open.
I went to Lowes and bought some 1x3x2’ boards to build the boxes. Originally I had intended to also put necklaces in the box, hence I chose the 1x3’s, but 1x2’s probably would have worked fine and the box would have been a bit less deep. I decided widthwise to make each door out of a 1x6, and so I also bought some ¼”x6” craft boards to glue together to form the back. I decided to make the doors slightly larger than the box so that I could put a decorative curve on the top, something to match our wooden window valances in the bedroom. The extension on the bottom works as a door handle. I also wanted a shallow band across the bottom of each section to stop anything that fell from dropping out. I just went with some flat ¼” trim molding. I measured the pieces and marked my curved top and my husband cut them for me. He used his router to make a groove to recess the bands across the bottom. I just used a simple butt joint and screwed the boxes together and glued & nailed on the front & back. My original idea was to put in rows of wire and wrapped them around screws to hang my dangle earrings over. I tried getting the wire taught, but all the earrings kept sliding toward the middle. Then my husband had a great idea, remembering the pile of martigras beads we had. So we cut the strands, strung them across and around the screws, wedging a bead between the screw and the side of the box. They work great because the beads separate each pair of earrings. Originally I had left the sides off the middle of the doors (I thought they might bind together when opening and closing) but I ended up adding a strip of the ¼” molding to finish off the edge and cover the ends of the screws & beads.
I own a few pairs of post earrings, so I used some wire and formed a small hole and loop, so I could attach the earring thru the hole and hang them in the box too. It’s kind of a pain, so I end up not always putting them away properly. I’m considering adding a strip of needlepoint mesh in place of the beads, but haven’t tried it yet, or perhaps I’ll find another solution.
I finished it off by painting it white and modifying the stencil from the window valances up the front. The lovely vintage hinges I used on the sides came from our Aunt’s old house. Now I have plenty of room to make and store new earrings.
This idea can be adapted to any size and I have also included a picture of a similar but smaller earring holder I made for my sister using a wooden picture frame and strung beads. I just used some decorative paper across the back. A sheet of needlepoint mesh would also work well if making one from a picture frame.




LinkWithin

Related Posts Plugin for WordPress, Blogger...