
Showing posts with label vintage. Show all posts
Showing posts with label vintage. Show all posts
Wednesday, June 12, 2013
Father's Day Card Handmade
My handmade card for dad for Father's Day. That's an old photo of my big sis & I in his lap probably in 1959.


Friday, June 7, 2013
Flower Embellsihed T-Shirt

Tuesday, April 24, 2012
Etsy Treasury, Hippie Days are Here Again
I created a new Etsy Treasury today, I've really been slacking off on my Etsy Shop & Blog since starting my part time job in January. But this morning I was inspired to through a treasury together, Hope you like it.
Monday, March 19, 2012
ODD DUCK BAZAAR NEXT WEEKEND

The Fabulous Odd Duck Bazaar is coming up next weekend, Saturday March 31, 2012. Although my new job prevents me from either vending or visiting the craft fair this year, I encourage all who have the time to stop by this incredible bazaar. This year the location has moved to Hollywood, Fl and more space is provided 80+ vendors. Some of South Florida's most talented Indie Artist and Crafters will be selling their wares. The venue provides both indoor and outdoor shopping areas, plus live music. Follow the link to preview the creative vendors you will find.
Monday, January 2, 2012
PJ’s for Little Cowboys from Vintage Flannel Fabric
A
Happy New Year to everyone. I’m finally back to my neglected blog. Sorry to be
away so long, the last month of the year is always a very hectic time for me.
Anyway
here’s my post on one of my holiday projects:
Since
both my mother and grandmother did so much home sewing we’ve always had piles
of fabric around the house. Some pieces have been in the family as far back as
I can remember. I had this favorite piece of flannel with a cowboy print that I’ve
loved since I was a little tot myself. I figured someday I’d make something for
a son, but I never had any kids.
Then
I realized a few years ago, when my youngest nephew was turning four, that I’d
better do something with the fabric before all the boys were too old to enjoy
it. So I made him a cute pair of PJ’s. I guess I should have gotten my sis to
send me a picture of him in them as I’m sure he’s outgrown them by now.

This
year at Christmas my niece asked for PJ’s for her 19 month old son. I shopped
around and wasn’t very thrilled with most of what I found in the stores. I did
finally find one cute pair and thought I’d use them as a pattern for a second
pair. Low and behold I came across that small remnant of the cowboy flannel (I
save everything). There was enough for a pajama top if I pieced it together. I
also had some knit fabrics in both blue and red, so I asked my husband if he
were 2 years old which color he would like. He said the red. So I made the
bottoms with the red knit and the top from the flannel. Originally I put a stripe
of the red across the front of the shirt where I pieced 2 parts together, but
we both agreed it looked too girly. So I did a quick google search on cowboy
motifs for other ideas to cover the seam and saw the suede fringe. Also in my remnant
piles were some pieces of ultrasuede (can we say hoarder). I cut a strip 1-1/4”
wide and then cut 1/4” fringe along the edge and sewed it down over the seam. Way
more cowboy now!


Friday, November 11, 2011
Tuesday, November 1, 2011
Don't Shrug Me Off - Treasury
Living in South Florida, I tend to wear summer/resort wear most of the year. I therefor don't often shop for knitted items or jackets often, but I'm always admiring them on Etsy & other craft blogs. Lately I've really been getting into shrugs, I think I may have to acquire some, they'd come in handy over strappy dresses and tops when we do get some slightly cool weather.
Tuesday, July 26, 2011
Acorn Earrings

I threw these together just this morning. I got dressed, put on a necklace to match my top & then went to my big earring cabinet & found nothing that went. Then in a dish on the dresser I spotted 2 pairs of sterling silver earrings I picked up at an antique fair about a year ago. They were both screw back earrings & I had intended to convert them.
The acorns matched my top, so I just got to work. I had intended to nip the screw backs off at the screw and twist the piece into a loop to dangle them from, but the 1st one just snapped of immediately because it was just glued on. Perhaps a bad repair, cause the other one wouldn't pull off, so I just snipped it off then hung them upside down with a jump ring. I wanted to add a bead & found an old necklace I could take a few off of. I just opened the loops on the ends to removed them & added them to the ear wires.
Nice to make something for myself now & then, especially when it comes together quickly instead of my usual hemming & hawing over which items to put together.
Wednesday, July 20, 2011
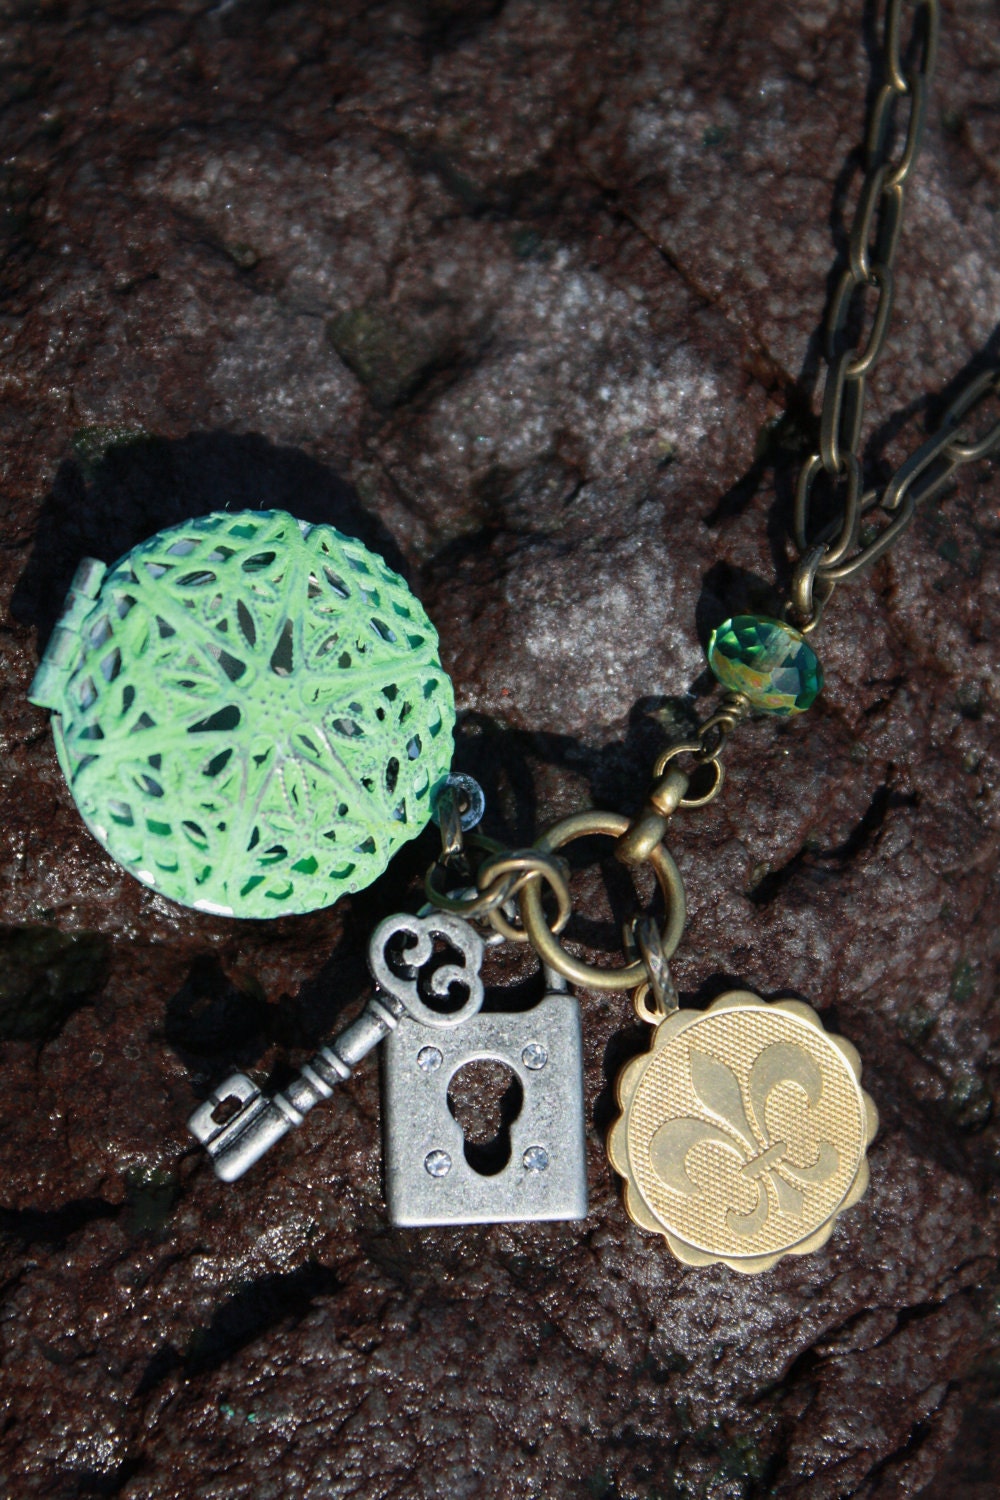
Upcycled Find of the Day
Wednesday, July 13, 2011
Vintage Find of the Day
The ultimate way to recycle "BUY VINTAGE"

Check out these cool old tokens from jnwalljr aka 'I've been working on the railroad' on Etsy.
They could just be collected as-is, or used for jewelry or buttons or scrapbooking, so many possibilities.

Check out these cool old tokens from jnwalljr aka 'I've been working on the railroad' on Etsy.
They could just be collected as-is, or used for jewelry or buttons or scrapbooking, so many possibilities.
Wednesday, June 29, 2011
Finally Sold

It was made from a vintage 1930's McCalls pattern that was my mothers. I hope the buyer is please when she sees it. Thanks so much for your order.
Sunday, August 22, 2010
Patch First – Etsyblogger of the Month
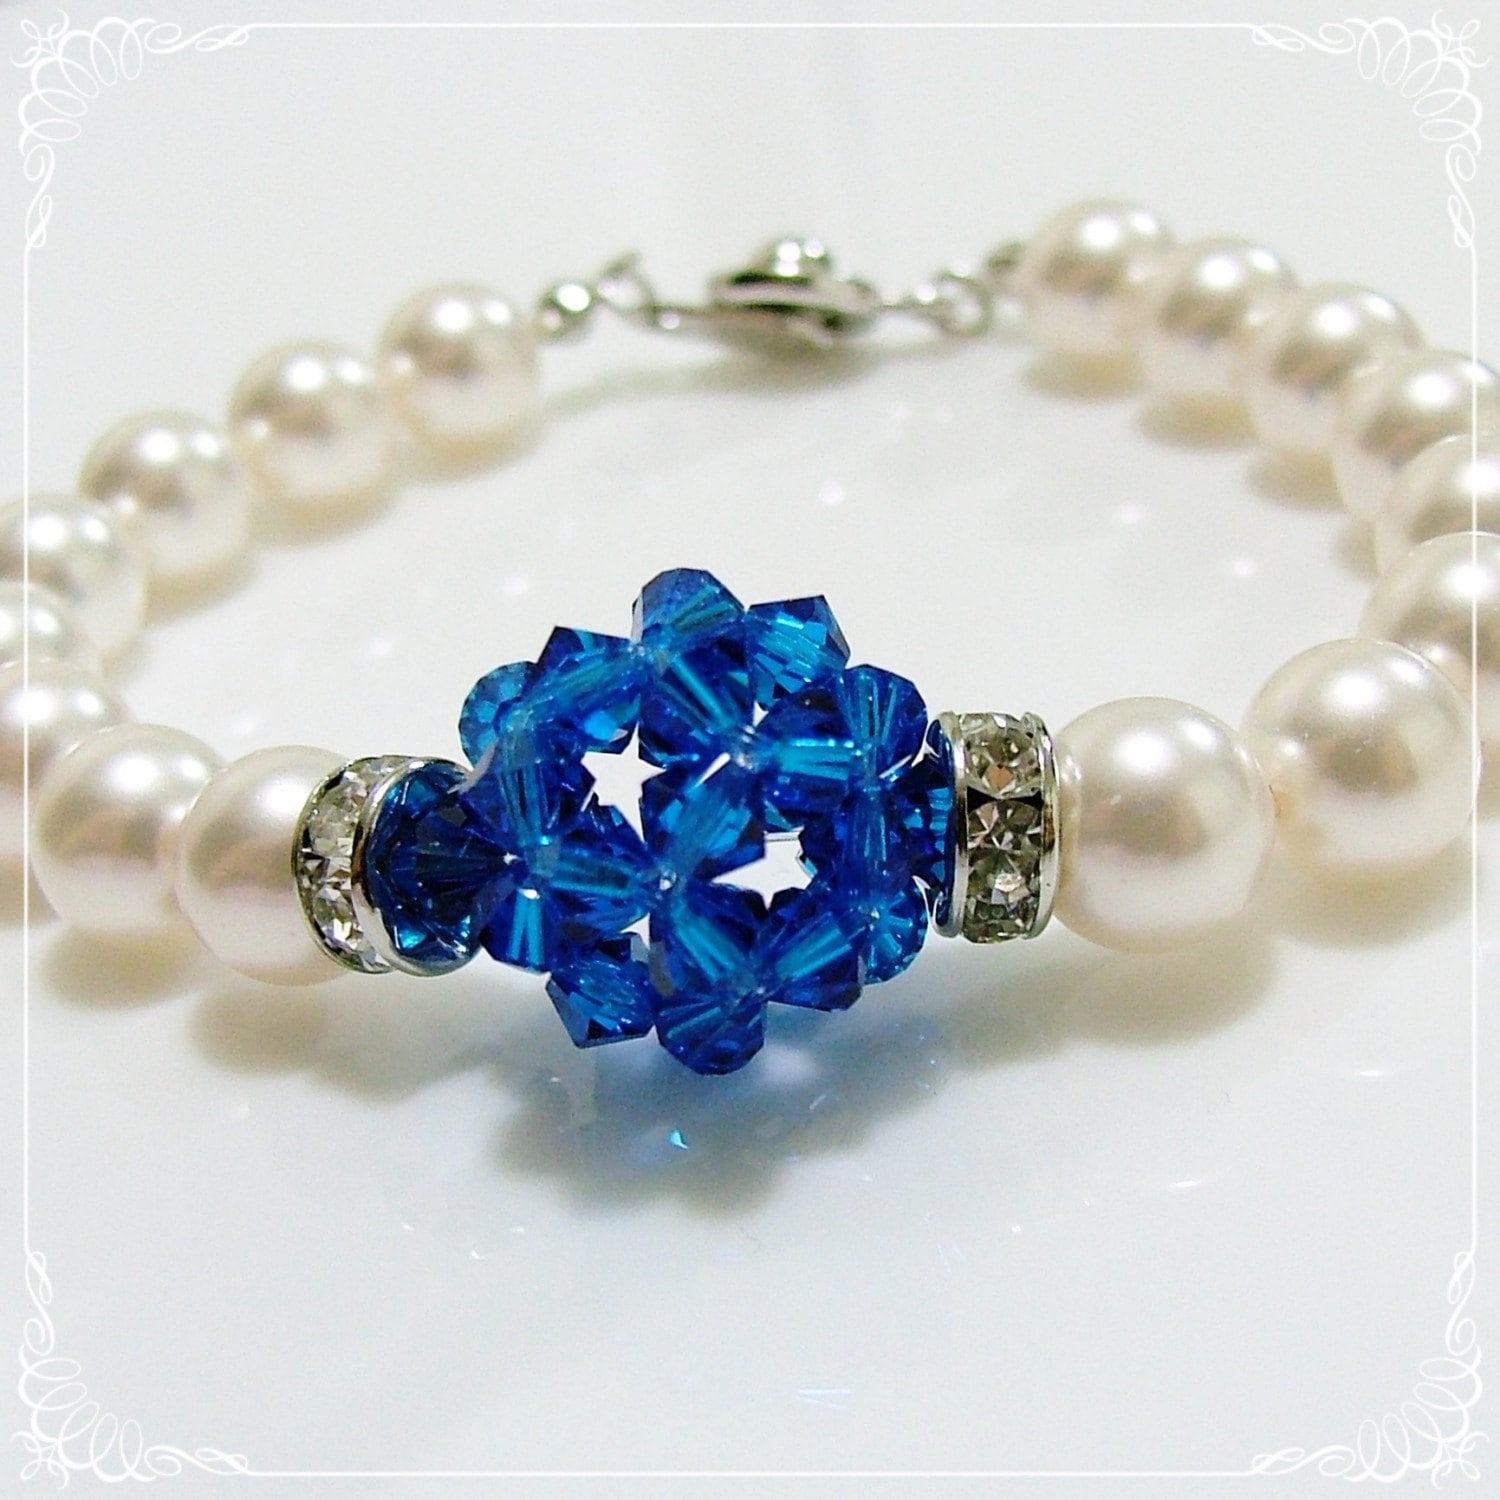
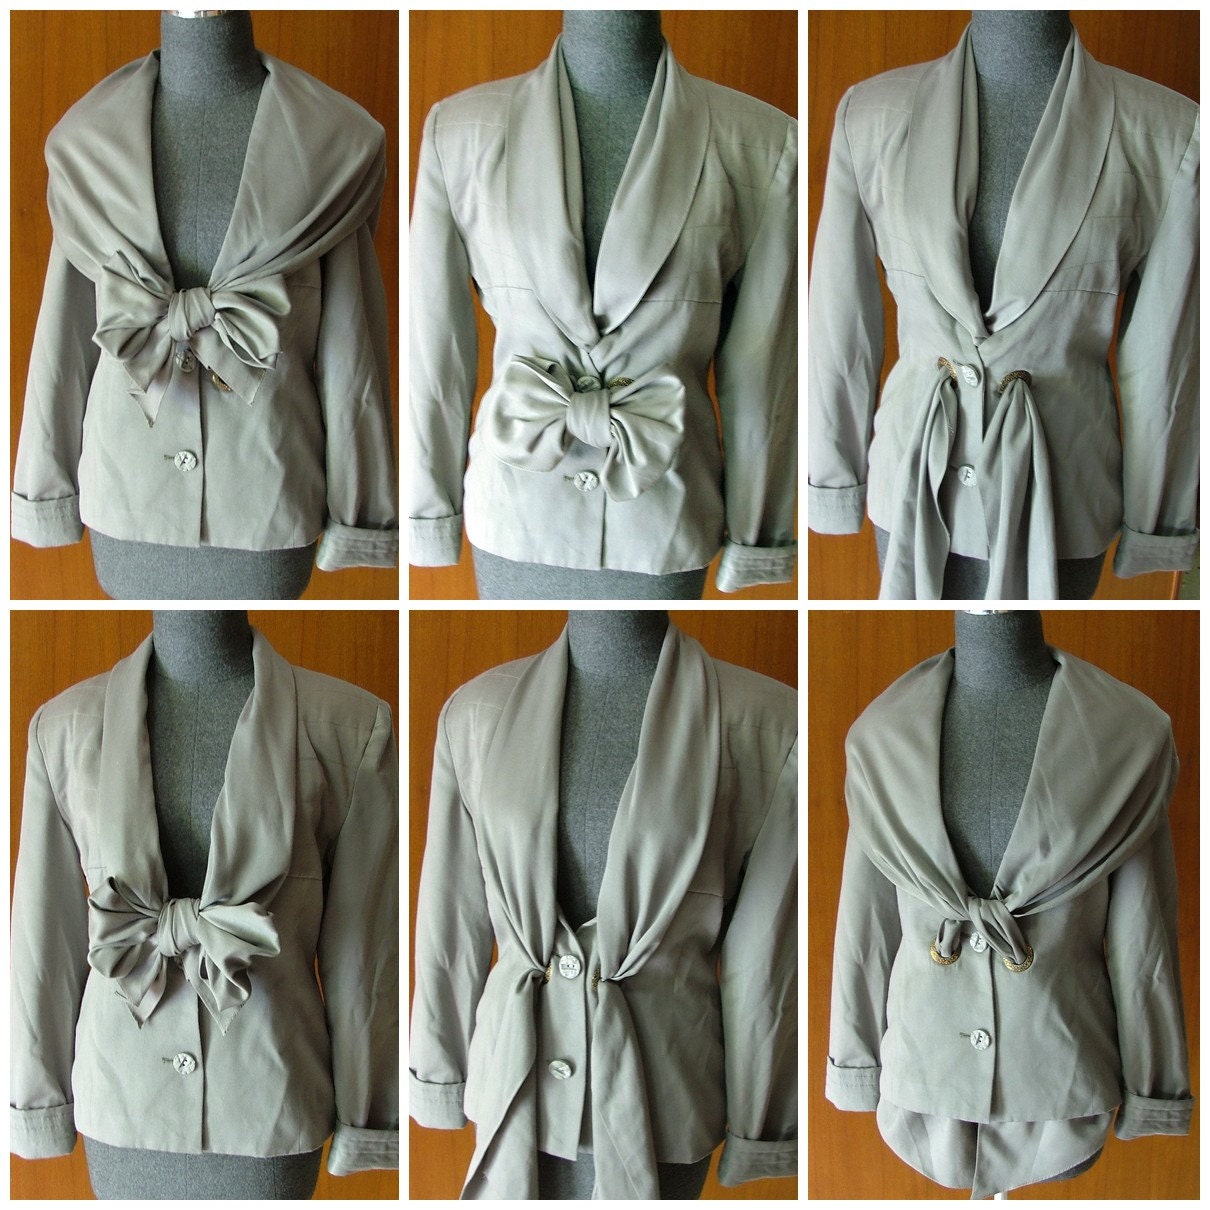
Planning an upcoming wedding? Attending a wedding soon? Then you should visit Patch’s Wedding Guide Blog . It’s chockfull of photos & info about the latest looks & styles, hairstyles, diamond buying advise, etc. And then it’s off to patch’s Bridal jewelry & accessories shop where you can have custom made stuff or just get something for yourself to wear to a wedding.


Not into the whole wedding thing, then check out her Vintage Shop or her Supply Shop. And also visit her personal blog that highlights her prolific creativity.



Not into the whole wedding thing, then check out her Vintage Shop or her Supply Shop. And also visit her personal blog that highlights her prolific creativity.
Thursday, June 3, 2010
Repairing Vintage Wallpaper with Inkjet Canvas
This is how I repaired/replaced some vintage wallpaper in our tiny bathroom.
While having new windows installed, we discovered termite and wood rot damage to the bathroom window frame & wall. The damage extended along the upper part of the wall so we needed to knock it out to replace the studs & frame. But this meant removing the lovely art nouveau wallpaper that was my favorite part of the bathroom. I shopped around and online, looking for vintage patterns or anything black & white that might match, but couldn’t find anything appropriate. It was the wall directly across from the doorway so it would have looked odd without wallpaper. Tile extends 2/3 up the wall & the section of wall was only about 4’ wide, so it wasn’t a large section. It was vinyl wallpaper, so I attempted carefully to scrape it off and save it. Of course that didn’t go as well as expected and I ended up with many tiny fragments.
 The wallpaper had an open weave cloth backing. I began to tape together the fragments of wallpaper on the front side and then glued cheesecloth to the back to hold them together. I only had one section about 20”x30” that was too broken up to reuse.
I was shopping for photo paper for my husband when I came across canvas made for inkjet printers. I came up with the idea of printing the design on it (I had seen pages from an old Sears Catalog used as wallpaper) so I figured the canvas would paste up well and the texture matched the existing wallpaper very well. I began placing the better sections on the scanner and scanning into jpg format. I had to edit parts of the image to fill in the damaged areas. I was then able to print out 8 ½”x11” sections. Luckily the design of overlapping illustrations gave me lots of places to form seam between the small prints. Somehow the new window & frame ended up narrower than the original, so I also needed to create two small strips to border each side of the window. In one of my many art books I found an Aubrey Beardsley design that went nicely. I scanned & printed those out too.
 Then I thought about it going up in a moist and steamy room and that the ink might not hold up. I tried painting some polyurethane on one of the scrap portions but the ink bled. I then started researching to see if there was a product made for sealing injet prints. There was, but at $20 dollars per can & only available online, I didn’t want to wait. So I ended up buying clear coat spray with UV protection. I tested it out on another scrap, let it dry and glued it to a scrap of drywall. Looked great. But when I pasted up the real pieces ink bled. I think I used too much glue and got it too wet from the under side, which I hadn’t sprayed. I wasn’t going to remove it and try again, not that big a section anyway. So if you try it, clear coat both sides before gluing & use the glue sparingly.


While having new windows installed, we discovered termite and wood rot damage to the bathroom window frame & wall. The damage extended along the upper part of the wall so we needed to knock it out to replace the studs & frame. But this meant removing the lovely art nouveau wallpaper that was my favorite part of the bathroom. I shopped around and online, looking for vintage patterns or anything black & white that might match, but couldn’t find anything appropriate. It was the wall directly across from the doorway so it would have looked odd without wallpaper. Tile extends 2/3 up the wall & the section of wall was only about 4’ wide, so it wasn’t a large section. It was vinyl wallpaper, so I attempted carefully to scrape it off and save it. Of course that didn’t go as well as expected and I ended up with many tiny fragments.

I was shopping for photo paper for my husband when I came across canvas made for inkjet printers. I came up with the idea of printing the design on it (I had seen pages from an old Sears Catalog used as wallpaper) so I figured the canvas would paste up well and the texture matched the existing wallpaper very well. I began placing the better sections on the scanner and scanning into jpg format. I had to edit parts of the image to fill in the damaged areas. I was then able to print out 8 ½”x11” sections. Luckily the design of overlapping illustrations gave me lots of places to form seam between the small prints. Somehow the new window & frame ended up narrower than the original, so I also needed to create two small strips to border each side of the window. In one of my many art books I found an Aubrey Beardsley design that went nicely. I scanned & printed those out too.
 Then I thought about it going up in a moist and steamy room and that the ink might not hold up. I tried painting some polyurethane on one of the scrap portions but the ink bled. I then started researching to see if there was a product made for sealing injet prints. There was, but at $20 dollars per can & only available online, I didn’t want to wait. So I ended up buying clear coat spray with UV protection. I tested it out on another scrap, let it dry and glued it to a scrap of drywall. Looked great. But when I pasted up the real pieces ink bled. I think I used too much glue and got it too wet from the under side, which I hadn’t sprayed. I wasn’t going to remove it and try again, not that big a section anyway. So if you try it, clear coat both sides before gluing & use the glue sparingly.

Friday, May 21, 2010
YOYO Ponytail Holders

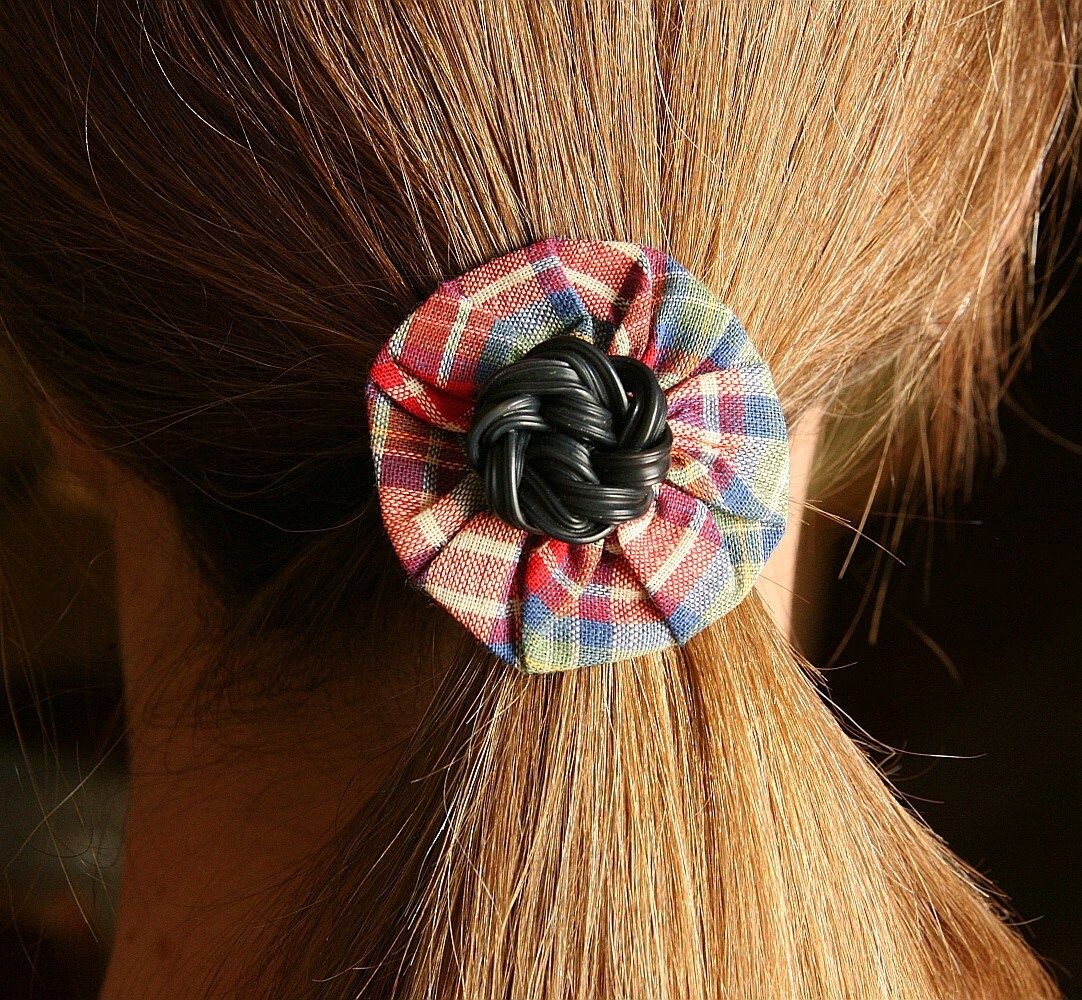
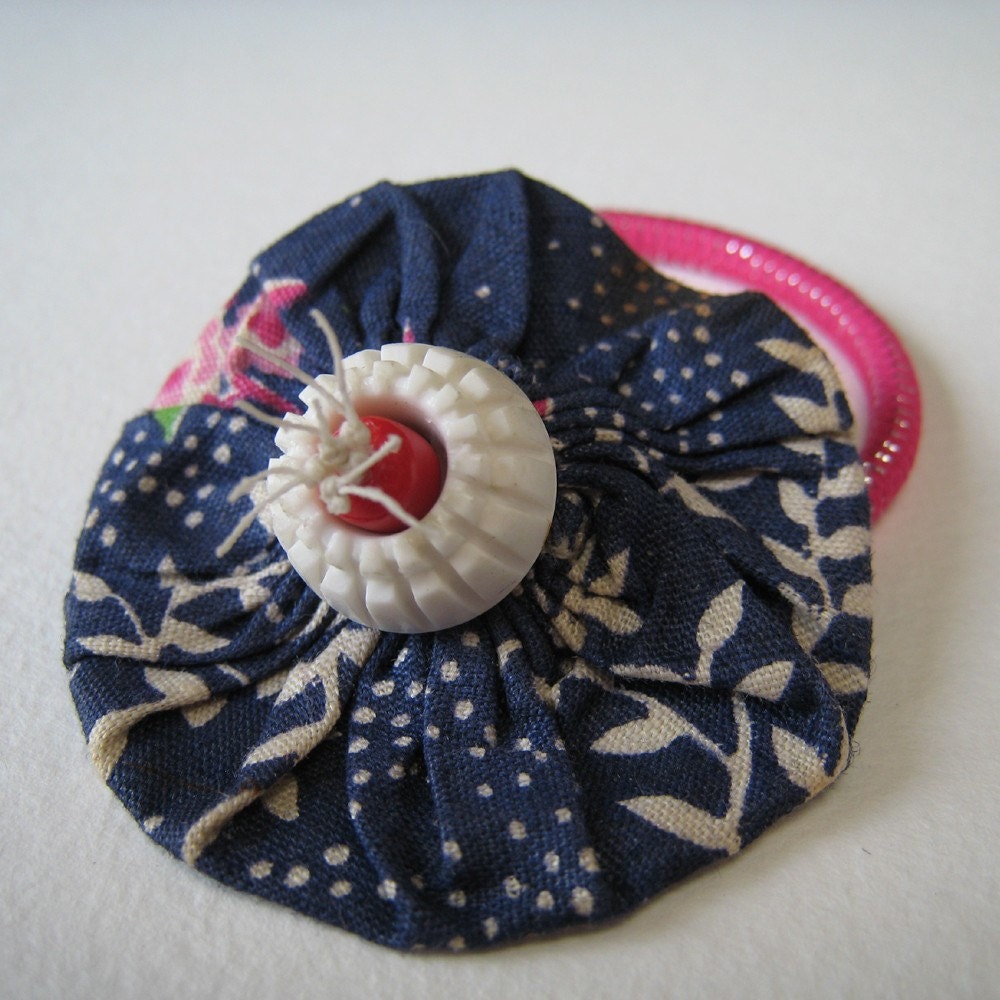
I’ve relisted my YoYo ponytail holders at my Etsy Shop. These lovely vintage yoyos were sewn by my grandmother. I have a bag of some sewn and others, just the cut circle, so eventually I’ll sew them up too. I combined them with some of my old buttons - many of which came from grandma too, but also from my other grandmother, my mom, my mother-in-law, my husbands aunt.
Time to get inspired to use some on other project too.
Friday, May 7, 2010
Mother’s Day, Thank You for passing on the skills and talents
Where would I be without the knowledge, skills and artistic encouragement passed down from my mother and grandmother. As mentioned in my profile, both were responsible for teaching me to sew. Even though most women of their era were taught to sew, many did not take to it or enjoy it as they did.

My grandmother did quite a lot of hand sewing, embroidery and crochet. Here are some of the wonderful vintage linens of hers I still have. She used to embroider lots of pillowcases for us, and our doll beds too. She started me hand sewing doll clothes, possibly as young as five years old. She made lots of things without patterns at all.

My mother inherited quite a lot of skills from her mom and was a talented seamstress. She used to design her own clothes by modifying and combining patterns. She passed those skills on to me. She made quite a lot of clothes for all 5 of us kids. She also made curtains, toys and other stuff too. I can still remember the day she taught my sister & I how to use the sewing machine, helping us make curtains for our bedroom. Boy did we have a hard time mastering that foot pedal. I also remember some adorable pastel flannel polka dot PJ’s with reversible robes that she made my sister and I. We modeled them in a fashion show for what I believe was a sorority sisters event when I was maybe 3 and my sis 5. I may still have a scrap of that fabric. Here’s a lovely linen dress she made in the 50’s.

Monday, July 20, 2009
Renovation Existing Tile


When renovating a bathroom, most home improvement sites and books will recommend completely ripping out all the fixtures and tiles and updating everything. They say that you will usually recover the cost when you resell the house. That’s fine if you can actually afford the thousands of dollars in demolition and replacement. Many of us don’t have those resources. And with the current housing slump and home values having dropped dramatically, sinking thousands into a renovation may not pay off.
I have updated both the bathrooms in my home without replacing all of the tile. I have redone just portions of it. I did it myself, and it does involve some delicate precision and hard labor. I’m not sure tile contractors would like my approach either. Hiring someone to do this work may not be easy as they most likely feel it’s easier to tear it all out and then cover a clean flat wall.
Easy doesn’t always mean best for the environment. My approach is to preserve as much vintage tile as possible and to add as little as possible to the waste stream. Where does all that old tile end up? Probably a landfill. Maybe if it were being recycled for some other use, it wouldn’t bother me so much, but most of the time, you see large amounts of construction waste just packed up into dumpsters and trucked away.
Here’s what I did with the 1st renovation. We had broken tile on the windowsill, some edge tiles at the floor that were cracked, a broken ceramic wall mounted towel rack and worn out ceramic soap dish and toothbrush holders above the wall hung sink. After removing the sink, we also found holes through some tiles and cracks in others.
I loved the 50-year-old tan speckled tile but knew I probably wouldn’t be able to match it. The room had black edge tile, so I had to come up with a pattern to insert black tile to fill in the spaces where I removed the broken stuff. It required placing black tiles where the new towel bars would attach to the walls, black tiles on the new windowsill and a few rows of black behind the sink. It also involved preserving at least one tan tile to fill in a spot where one towel bar was removed. Getting tiles off in one piece is the trickiest part & mostly comes down to luck.
Here’s a few links on how to replace a broken tile…
http://www.thisoldhouse.com/toh/how-to/intro/0,,20051584,00.html
http://www.ehow.com/how_114958_replace-cracked-tile.html
perhaps I’ll post more about my own repair work at a later date as this is already getting too long winded.
I have updated both the bathrooms in my home without replacing all of the tile. I have redone just portions of it. I did it myself, and it does involve some delicate precision and hard labor. I’m not sure tile contractors would like my approach either. Hiring someone to do this work may not be easy as they most likely feel it’s easier to tear it all out and then cover a clean flat wall.
Easy doesn’t always mean best for the environment. My approach is to preserve as much vintage tile as possible and to add as little as possible to the waste stream. Where does all that old tile end up? Probably a landfill. Maybe if it were being recycled for some other use, it wouldn’t bother me so much, but most of the time, you see large amounts of construction waste just packed up into dumpsters and trucked away.
Here’s what I did with the 1st renovation. We had broken tile on the windowsill, some edge tiles at the floor that were cracked, a broken ceramic wall mounted towel rack and worn out ceramic soap dish and toothbrush holders above the wall hung sink. After removing the sink, we also found holes through some tiles and cracks in others.
I loved the 50-year-old tan speckled tile but knew I probably wouldn’t be able to match it. The room had black edge tile, so I had to come up with a pattern to insert black tile to fill in the spaces where I removed the broken stuff. It required placing black tiles where the new towel bars would attach to the walls, black tiles on the new windowsill and a few rows of black behind the sink. It also involved preserving at least one tan tile to fill in a spot where one towel bar was removed. Getting tiles off in one piece is the trickiest part & mostly comes down to luck.
Here’s a few links on how to replace a broken tile…
http://www.thisoldhouse.com/toh/how-to/intro/0,,20051584,00.html
http://www.ehow.com/how_114958_replace-cracked-tile.html
perhaps I’ll post more about my own repair work at a later date as this is already getting too long winded.
Subscribe to:
Posts (Atom)
LinkWithin
